테스팅 환경 : NEXT + Jest + Cypress
2025. 6. 21. 16:42ㆍNext.js
728x90
1. Next 프로젝트 생성
npm install -g create-next-app
npx create-next-app@latest --typescript
npm run dev
2. jest 설치
npm install --save-dev jest @types/jest ts-jest jest-environment-jsdom @testing-library/react @testing-library/dom @testing-library/jest-dom
2-1. jest.config.ts 파일 생성 및 내용 추가
// jest.config.ts
import nextJest from 'next/jest';

const createJestConfig = nextJest({
    dir: './', // Next.js 프로젝트 루트 경로
});

const customJestConfig = {
    setupFilesAfterEnv: ['<rootDir>/jest.setup.ts'],
    moduleNameMapper: {
        // alias 경로 설정
        '^@/components/(.*)$': '<rootDir>/components/$1',
        '^@/pages/(.*)$': '<rootDir>/pages/$1',
        '^@/utils/(.*)$': '<rootDir>/utils/$1',
        // CSS 모듈 무시
        '\\.(css|less|scss|sass)$': 'identity-obj-proxy',
        // 이미지 파일 무시
        '\\.(jpg|jpeg|png|gif|webp|svg)$': '<rootDir>/__mocks__/fileMock.js',
    },
    testEnvironment: 'jsdom',
    transform: {
        '^.+\\.(ts|tsx)$': 'ts-jest',
    },
};

export default createJestConfig(customJestConfig);
3. cypress 설치
npm i cypress --save-dev
4. package.json
//package.json

    "scripts": {
        "dev": "next dev --turbopack",
        "build": "next build",
        "start": "next start",
        "lint": "next lint",
        "test": "jest --watch",   //추가
        "cypress": "cypress open" //추가
    },
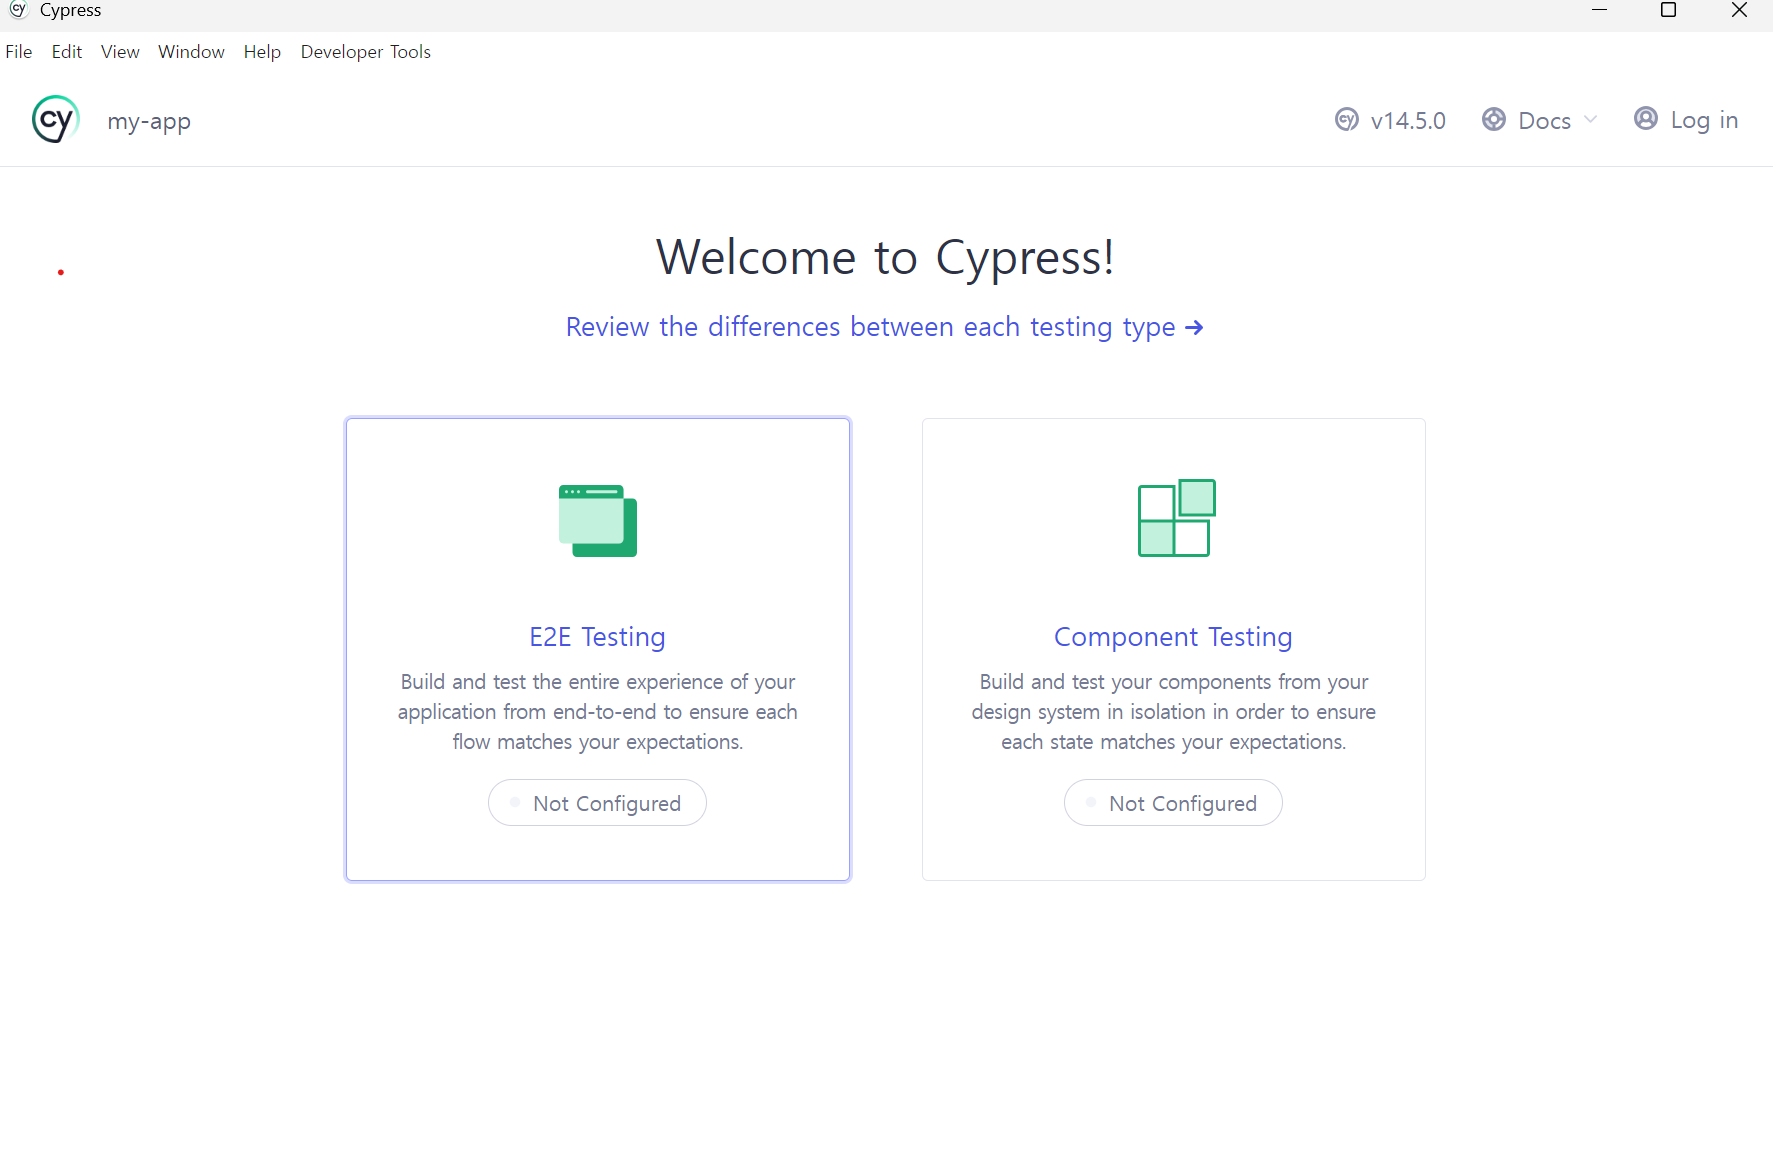
5. cypress 실행 + E2E Testing 선택 + chrome 선택
npm run cypress


끝.
반응형
'Next.js' 카테고리의 다른 글
| classnames 라이브러리 : css modules 여러 클래스 추가, 조건부 사용 (0) | 2024.03.27 |
|---|---|
| day.js 날짜 라이브러리 (글 작성 경과 시간 구현) (2) | 2024.03.26 |
| #04 Next App Router :useSelectedLayoutSegment가 null이 나오는 이유 (0) | 2024.03.19 |
| #03 Next App Router : useSelectedLayoutSegment (현재 위치한 path 찾기) (0) | 2024.03.18 |
| #02 Next App Router 모달창 : 로그인 & 회원가입 화면 (3) | 2024.03.17 |